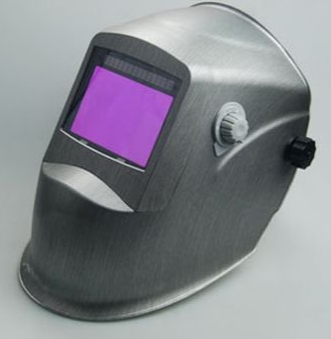
Auto-darkening welding helmets are a valuable tool for protecting welders' eyes and face from the intense light and radiation generated during welding. These helmets feature a liquid crystal display (LCD) lens that automatically adjusts its shade darkness based on the welding arc's brightness. To ensure proper protection and visibility, it is important to correctly set up and use an auto-darkening welding helmet. Here are the steps to properly set an auto-darkening welding helmet:
Inspect the helmet: Before setting up the helmet, visually inspect it for any signs of damage or wear. Ensure that all components, including the shell, lens, headgear, and adjustment knobs, are in good condition. Replace any damaged parts before use.

Auto Darkening Welding Helmet
Test the helmet's functionality: Before using the helmet for welding, test its auto-darkening functionality. Most helmets have a test button or feature that allows you to verify the lens's response. Activate the test mode as per the manufacturer's instructions and observe if the lens darkens and then returns to the light state. If the auto-darkening feature fails to operate correctly, do not use the helmet and contact the manufacturer for assistance.
Set the shade level: Auto-darkening welding helmets offer adjustable shade levels to accommodate various welding processes and arc intensities. Depending on the welding application, you need to set the appropriate shade level on your helmet. Refer to the welding procedure specifications (WPS) or consult welding experts to determine the recommended shade level for your specific welding task. Shade levels typically range from DIN 9 to DIN 13 or higher.

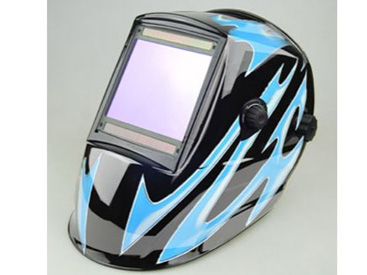
Welding Helmet
Test the helmet's responsiveness: Perform a test weld to ensure the helmet's responsiveness and adjustability. Strike an arc and observe the lens's darkening response. The lens should darken quickly and consistently to the set shade level, providing optimal protection. If the lens does not darken adequately or remains too dark even after the arc stops, adjust the sensitivity and delay controls accordingly.

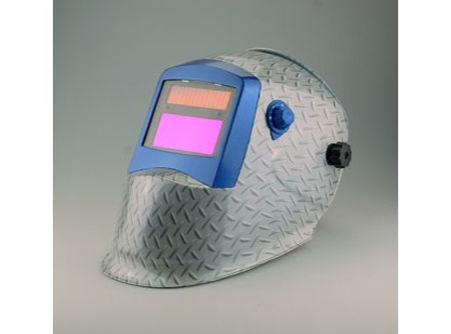
Auto Darkening Welding Helmet
Regular maintenance and care: To maintain the performance of your auto-darkening welding helmet, follow the manufacturer's recommendations for cleaning and maintenance. Keep the lens clean from dust, spatter, and debris using a soft cloth or the recommended cleaning solution. Inspect the helmet regularly for any signs of damage or malfunction and replace components as needed.
Remember, proper eye protection is crucial in welding. Always wear appropriate safety glasses or goggles underneath your welding helmet to provide additional eye protection from flying debris, sparks, and harmful light.


